Cook Mode
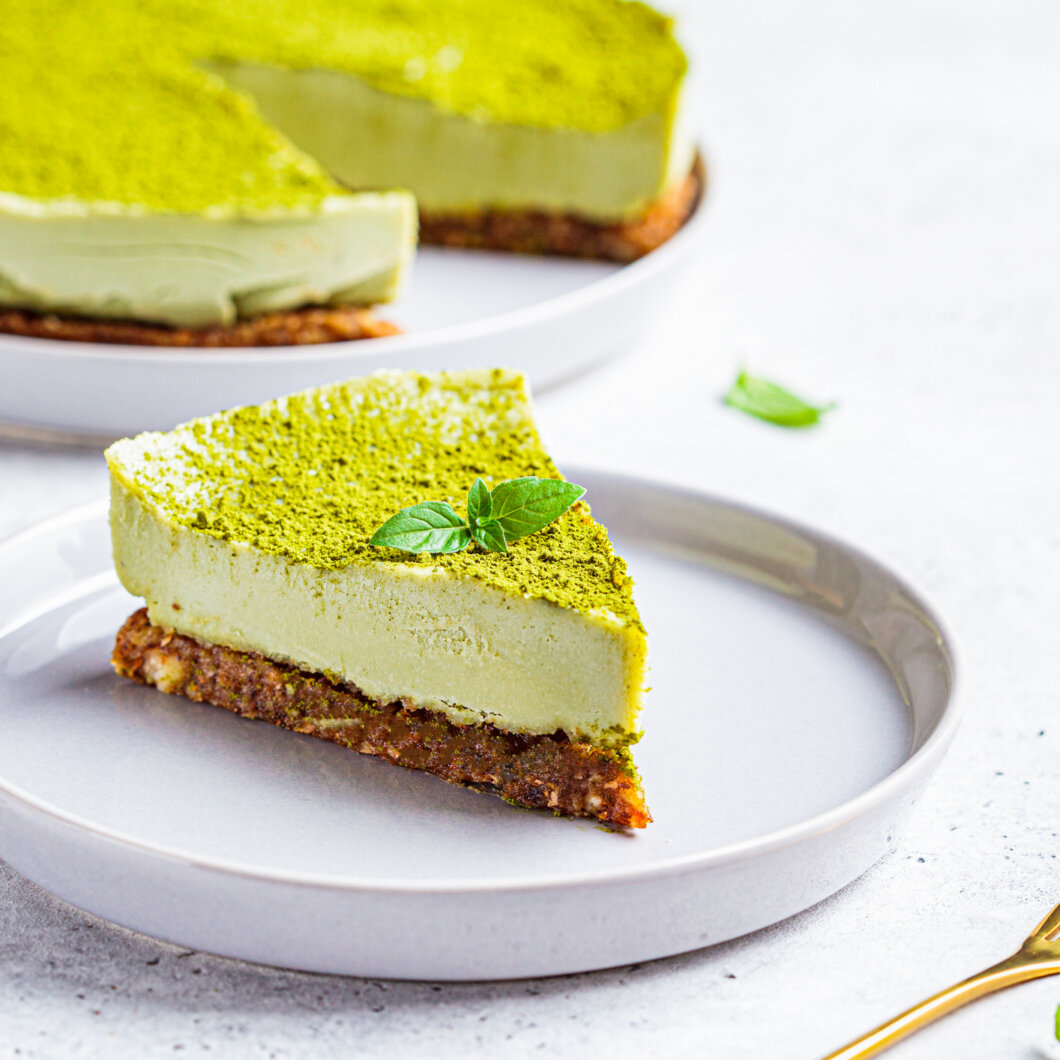
Vegan Matcha Cheesecake
CourseDessertCuisineAmericanDifficultyEasy
Prep time
25
minutesResting Time
6
hoursMakes
1
8-inch cheesecakeIngredients
- For the nut & date crust
1 cup (140 g) raw almonds
½ cup (60 g) raw walnuts or cashews
1 cup (160 g) soft Medjool dates, pitted
2 tbsp shredded unsweetened coconut flakes or shredded coconut
1 tbsp melted coconut oil
½ tsp vanilla extract
Pinch of sea salt
- For the matcha cheesecake filling
2 cups (280 g) raw cashews, soaked 4–6 hours and drained
¾ cup (180 ml) full-fat canned coconut milk (try these brands)
½ cup (120 ml) melted refined coconut oil
½ cup (120 ml) maple syrup
¼ cup (60 ml) fresh lemon juice
2 –2½ tbsp culinary-grade matcha powder
1 tsp vanilla extract
¼ tsp sea salt
- For the topping
1 –2 tsp matcha powder
Fresh mint, optional
Directions
- Prepare the pan
- Line the bottom of an 8-inch springform pan with parchment paper.
- For a taller cheesecake, you can use a 7-inch (18-cm) pan instead.
- Make the crust
- Add the almonds and walnuts to a food processor and pulse until they’re broken into small crumbs.
- Add the dates, coconut, coconut oil, vanilla and salt. Process until the mixture becomes sticky and holds together when squeezed.
- Don’t blend it completely smooth—the visible pieces of nuts and dates give the crust a rustic texture.
- Press the mixture firmly and evenly into the bottom of the pan. A flat-bottomed glass works particularly well for compacting it.
- Place in the freezer while you prepare the filling.
- Make the matcha filling
- Drain and rinse the soaked cashews.
- Add the cashews, coconut milk, maple syrup, lemon juice, matcha, vanilla and salt to a high-speed blender.
- Blend until completely smooth and creamy, scraping down the sides as necessary.
- With the blender running on low, slowly pour in the melted coconut oil. Blend again until silky.
- Taste the filling. Matcha varies considerably in strength, so add another ½ tablespoon if you want a more pronounced earthy matcha flavor.
- Assemble
- Pour the filling over the chilled crust.
- Smooth the surface with a spatula, then gently tap the pan against the counter several times to release trapped air bubbles.
- Freeze for at least 5–6 hours, or overnight, until completely firm.
- Finish with matcha
- Remove the frozen cheesecake from the pan.
- Using a small fine-mesh sieve, dust a thin, even layer of matcha over the entire surface.
- For a bright green appearance, do this shortly before serving. Matcha gradually darkens when exposed to moisture and air.
Notes
- Getting the cheesecake texture right:
Don’t serve it directly from the freezer. Transfer the cheesecake to the refrigerator for approximately 2 hours before serving, or leave individual frozen slices at room temperature for around 15–25 minutes.
You’re looking for a texture that’s firm enough to produce a clean slice but soft and creamy when you put a fork through it.
Run a sharp knife under hot water, wipe it dry, and make each cut while the blade is warm for especially clean slices.